
Environment#
The Environment plugin displays and manages information on the currently configured building and maps of the robot.
Robot panel#
The summary of the Environment button shows information about the current configuration of the environment of the robot.
Empty State#
No building is active at the moment.

Figure 1: Empty State Card
Building Active State#
Shows the active building name. On click, it automatically opens a panel with that building data.*

Figure 2: Active Building Card
Floor Active State#
Shows the active floor name.On click, it automatically opens a panel with that floor data.
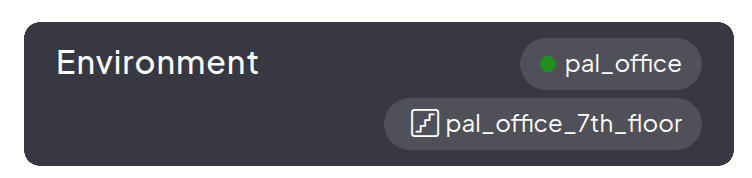
Figure 3: Active Floor Card
Map Active State#
Shows the number of active maps. More than one map can be active at a time.
On click, it automatically opens a panel with that map data. If two or more maps are active at the same time, the first one will be shown.
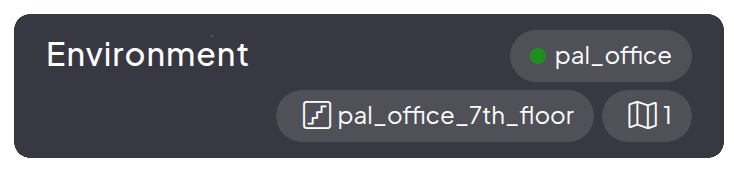
Figure 4: Active Map Card
Control Center#
The environment data is organized as hierarchical data in a tree-like, collapsible structure. Each entry will display additional details on that element on the right-hand panel.
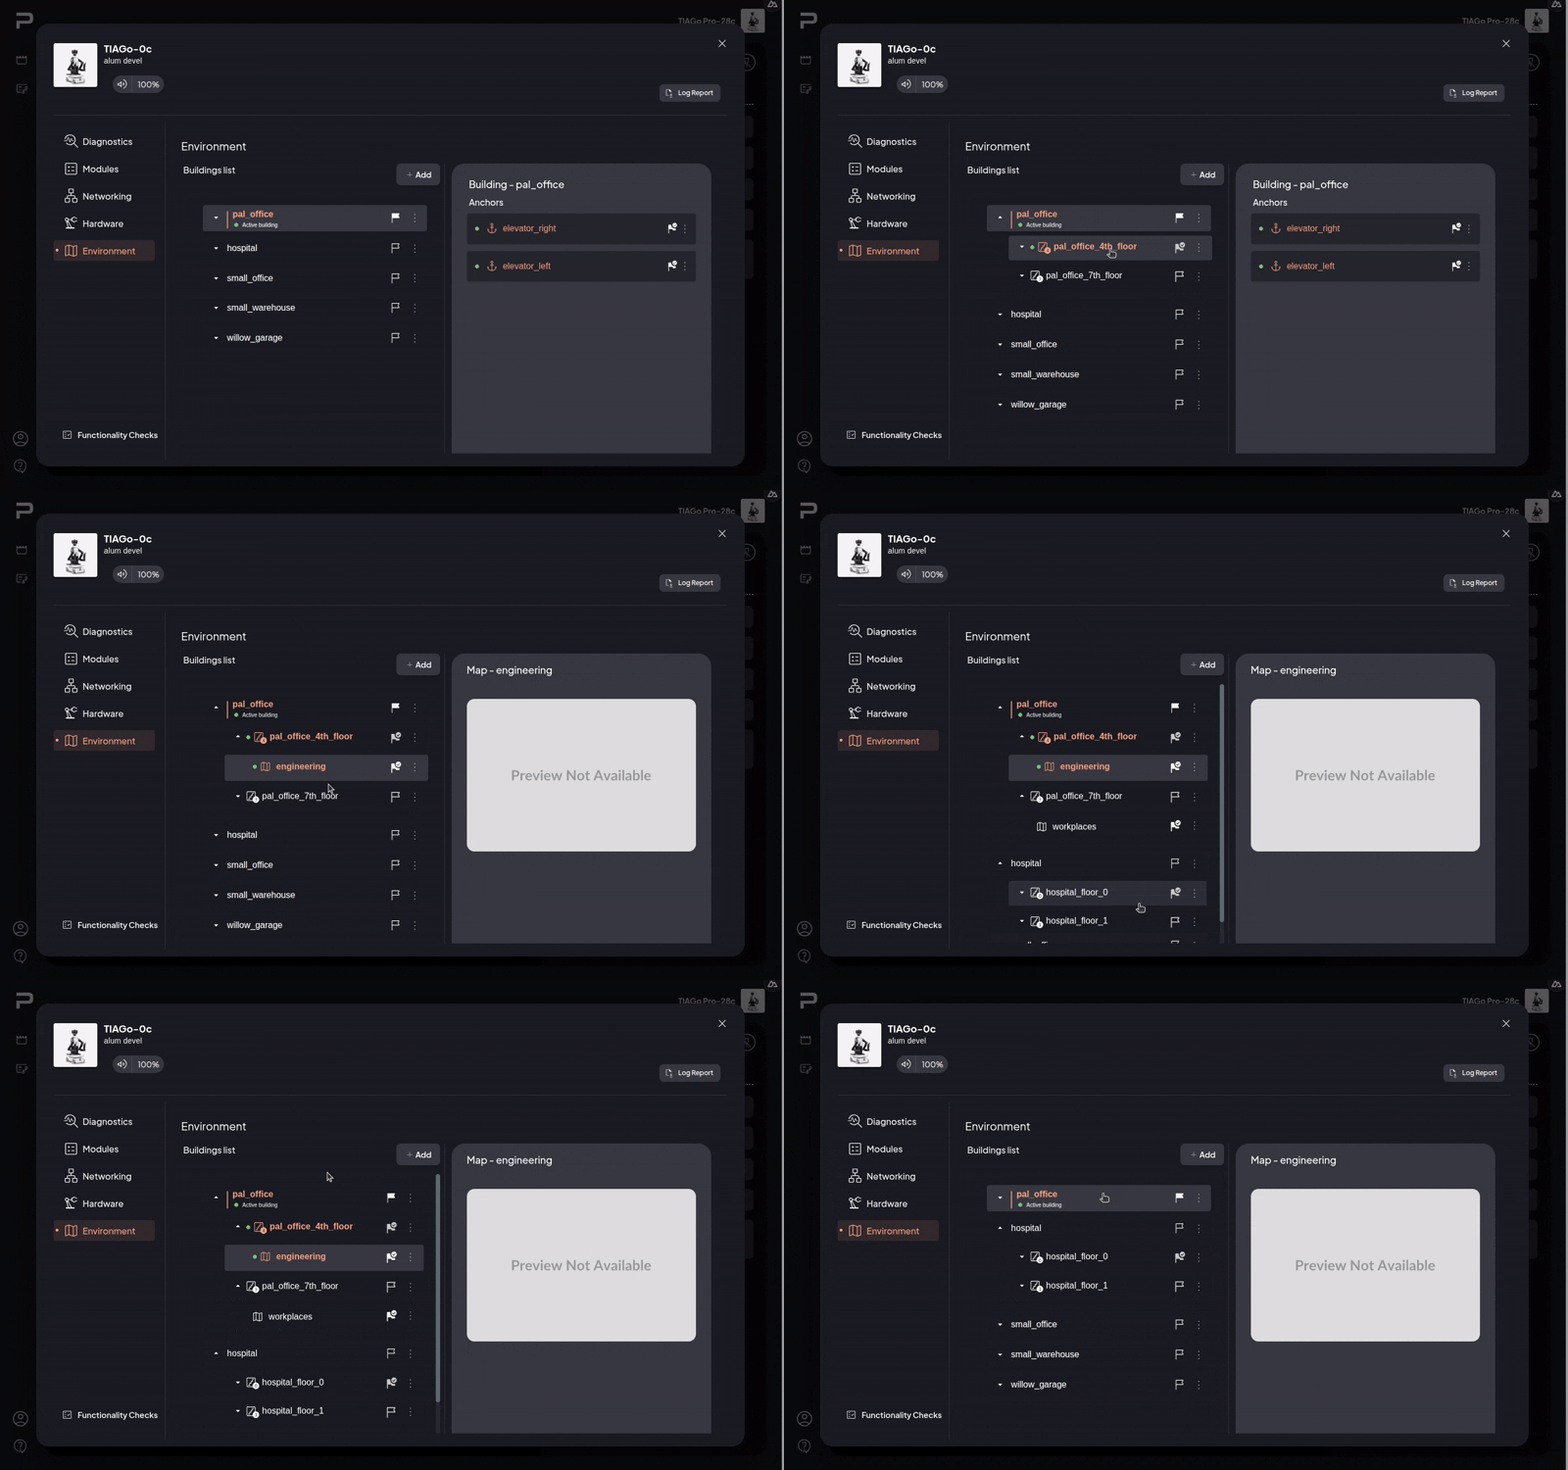
Figure 5: Environment Control Center
Top panel#
Add button#
This button allows creation of new elements. click it displays a menu with three options:
Building
Floor
Map
Each one of these buttons opens a dialog with the proper inputs to create that element.

Figure 6: Add Button
!!! Note If no building exists, only the building option will be shown.
Building dialog#
The building dialog shows inputs to configure its name and time zone. In addition, under the Advanced section, the name of the main building anchor will be configured (if not it will default to simple_anchor).
Finally, buttons to manage the current state (Active / Inactive) and default state (Enabled / Disabled) are provided.
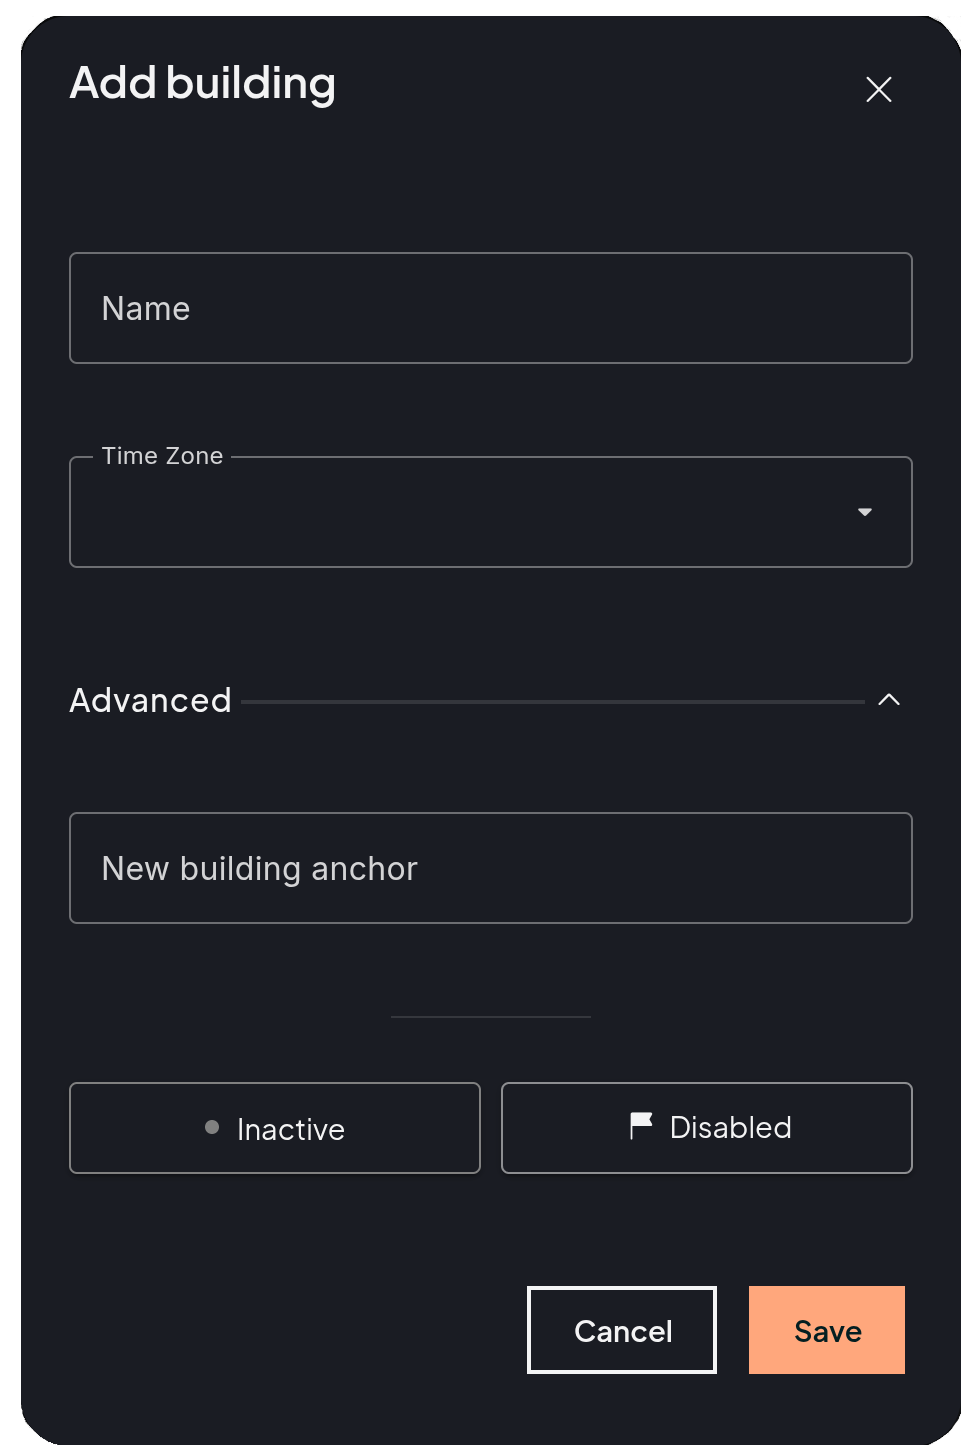
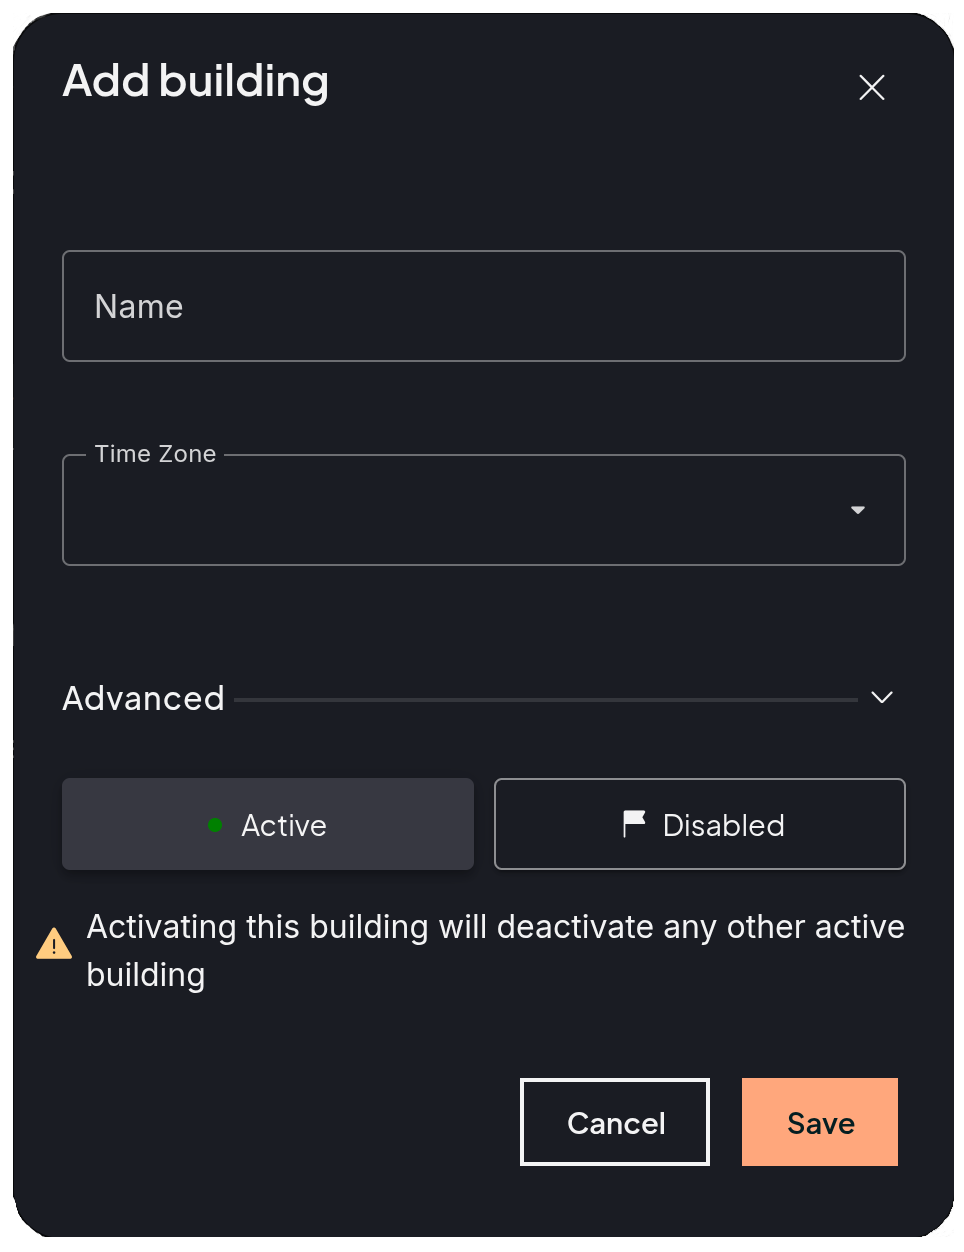
Figure 7: Building Dialog && Building Dialog with Warning
!!! Warning In case there is an existing active/enabled building, and the created building is set as Active/ Enabled, the new building will take preference, and Disactive/Disable the existing building. In that case a warning will be displayed.
Floor dialog#
The floor dialog shows inputs to configure its name, parent building, building anchor, and floor level.
In addition, under the Advanced section, the name of the floor anchor will be configured (if not it will default to simple_anchor).
Finally, buttons to manage the current state (Active / Inactive) and default state (Enabled / Disabled) are provided.
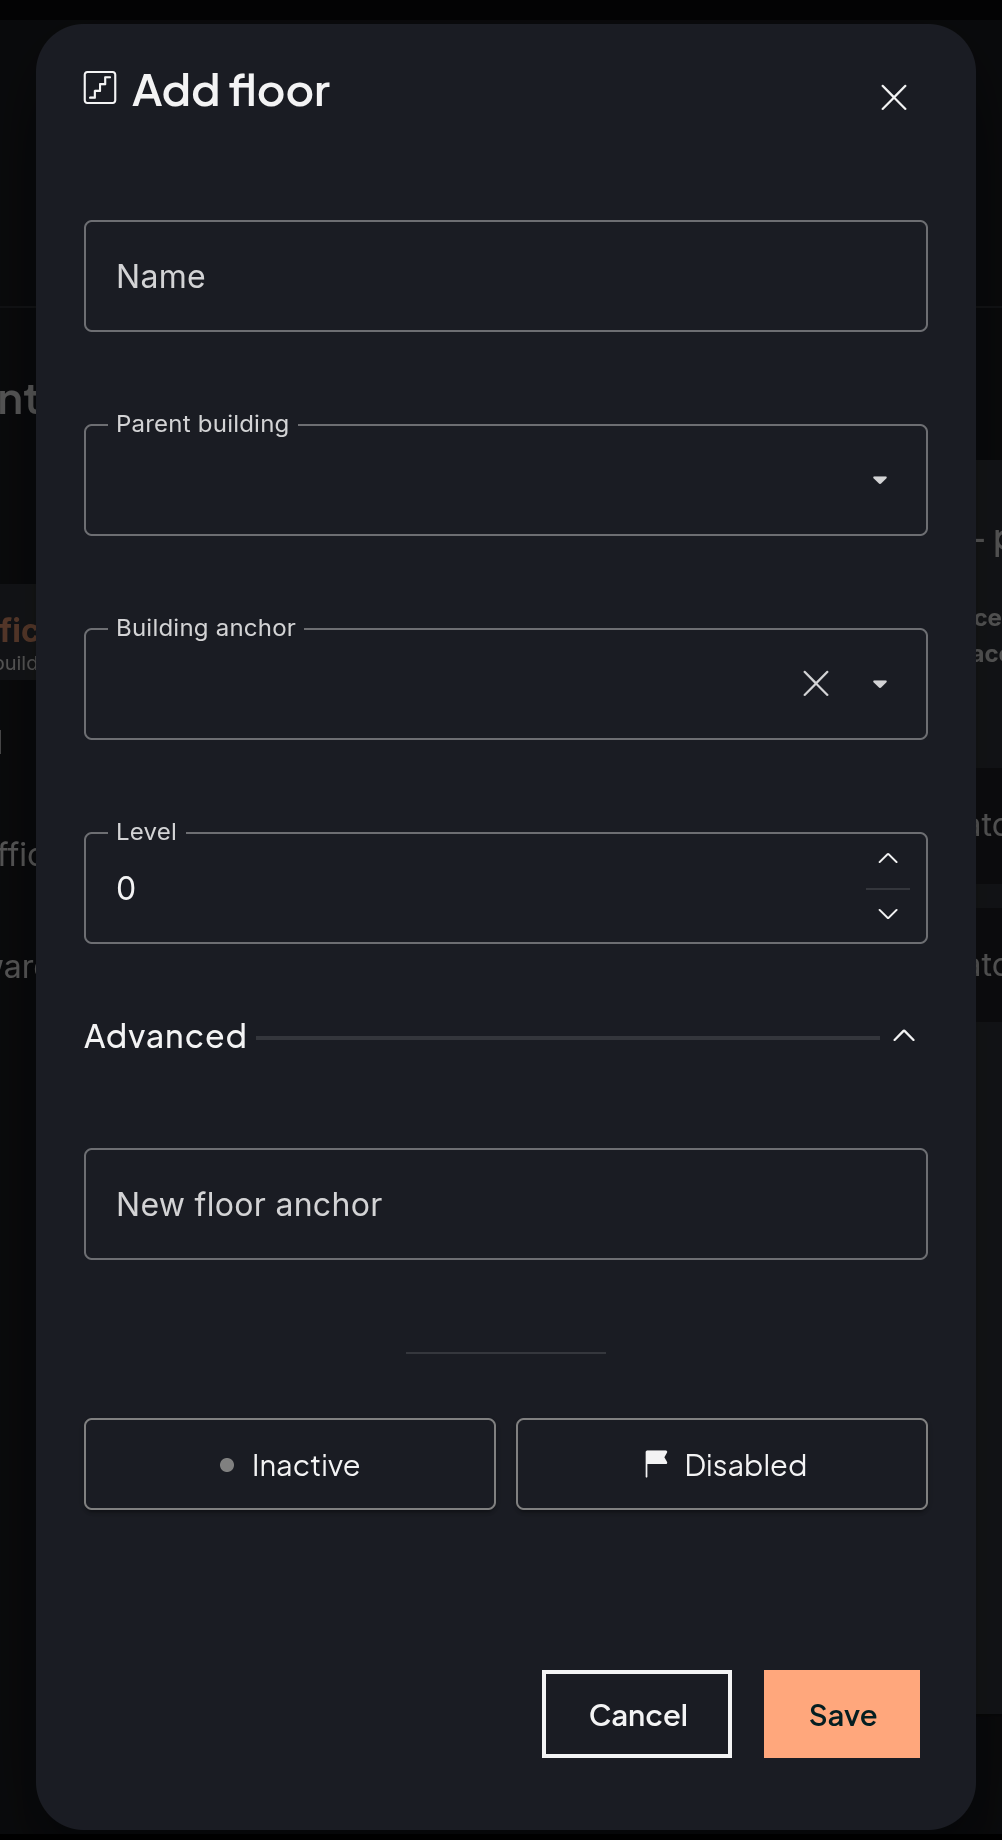
Figure 8: Floor Dialog
!!! Warning A floor can only be active if the building it belongs to is currently active.
Map Dialog#
The map dialog shows inputs to configure its name, parent building, parent floor, parent floor anchor, map filepath, and Frame ID.
Finally, buttons to manage the current state (Active / Inactive) and default state (Enabled / Disabled) are provided.
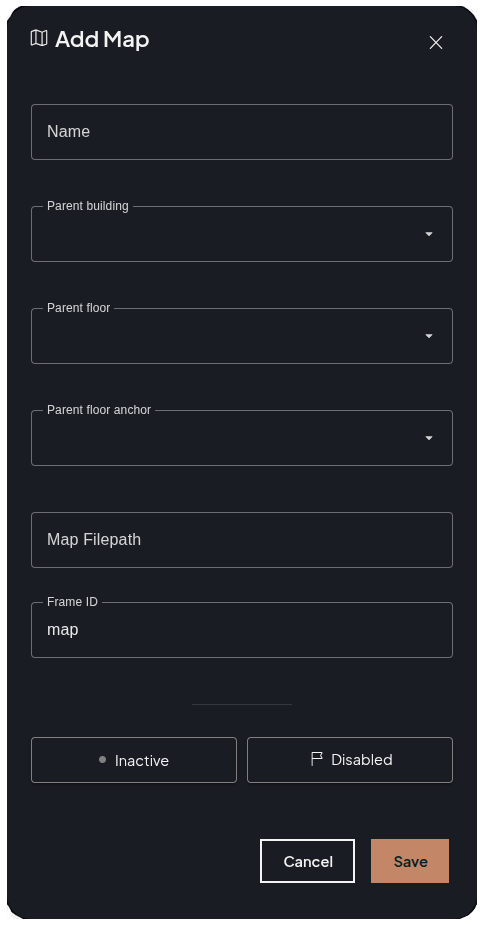
Figure 9: Map Dialog
!!! Warning A map can only be active if the building it belongs to is currently active.
Left panel#
The left panel shows a tree view composed of Buildings, which contain Floors, which in turn contain Maps:
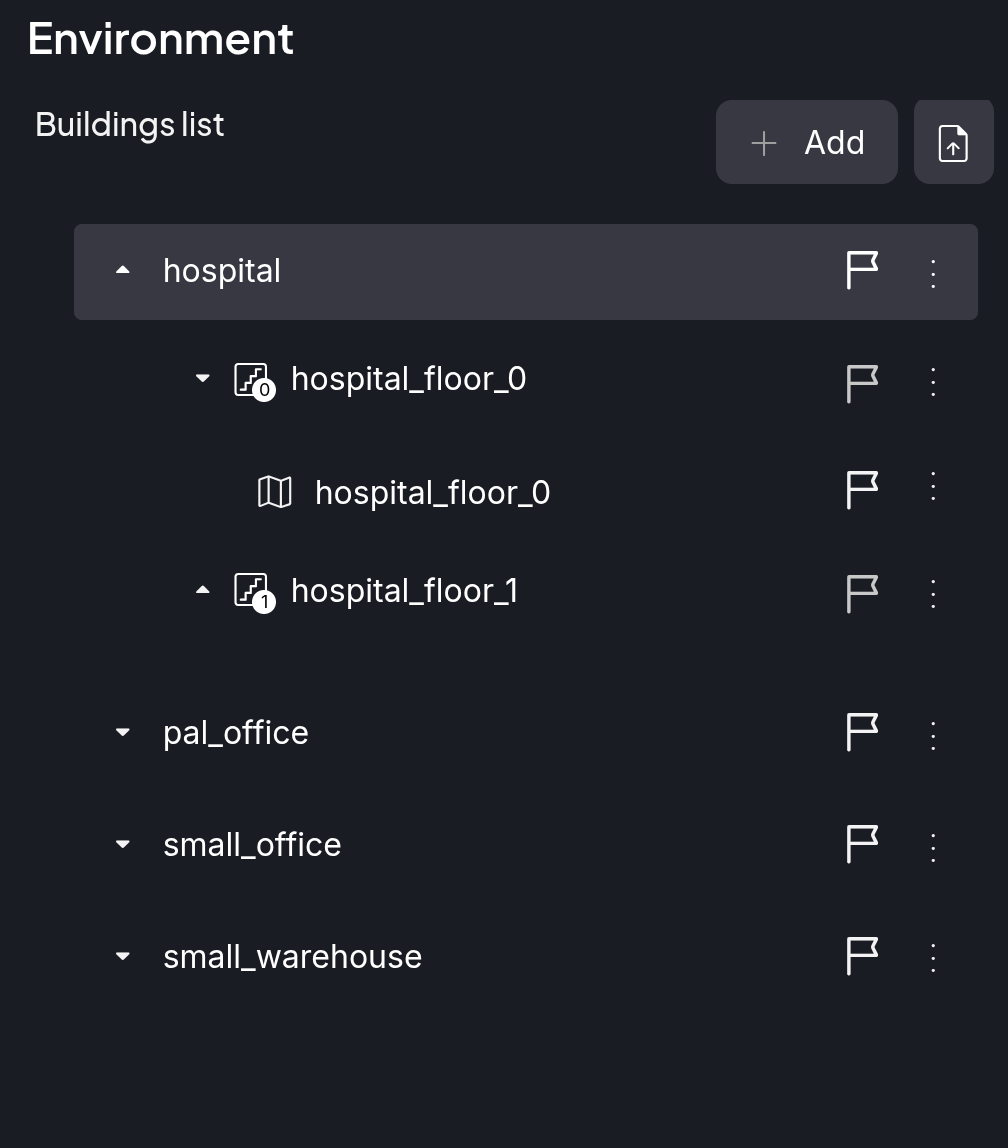
Figure 10: Left Side Panel
Building item#
Buildings show the following information:
Arrow icon: toggle open/close building floor list
Building name: Name of the building, clicking on it will select it and display the detailed data in the right panel.
Flag icon: shows the enabled building state.
Three dots icon: opens a context menu.
Floor item#
When building item is opened, floors will be shown with the next data:
Arrow: toggle open/close floor child item data
Floor name: on click displays data on the right panel.
Flag icon: shows the enabled floor state.
Three dots icon: opens a context menu.
Map item#
When building item is opened, floors will be shown with the next data:
Map name: on click displays data on the right panel.
Flag icon: shows the enabled map state.
Three dots icon: opens a context menu.
The flag icon displayed on each item type allows to see and manage the following states:
Enable: sets the item state to enabled.
Disable: sets the item state to disabled.
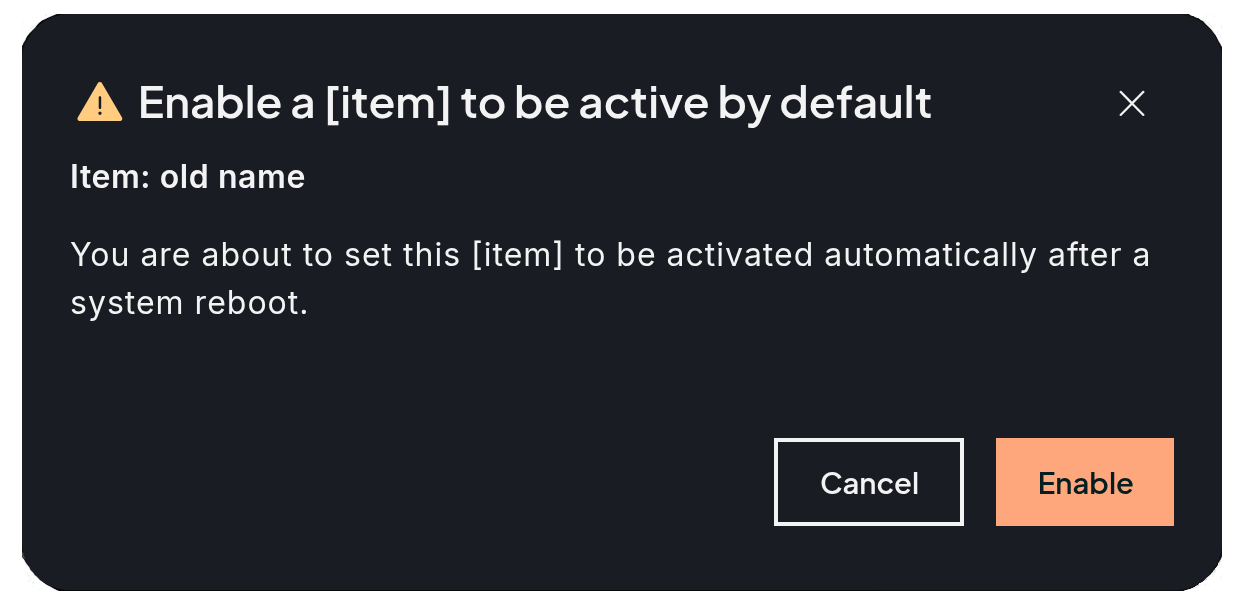
Figure 11: Generic enable dialog
The context menu displayed for all three item types contains the following entries:
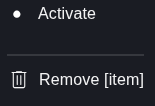
Activate: sets the item state to active.
Deactivate: sets the item state to deactivated.
Remove: removes an item.
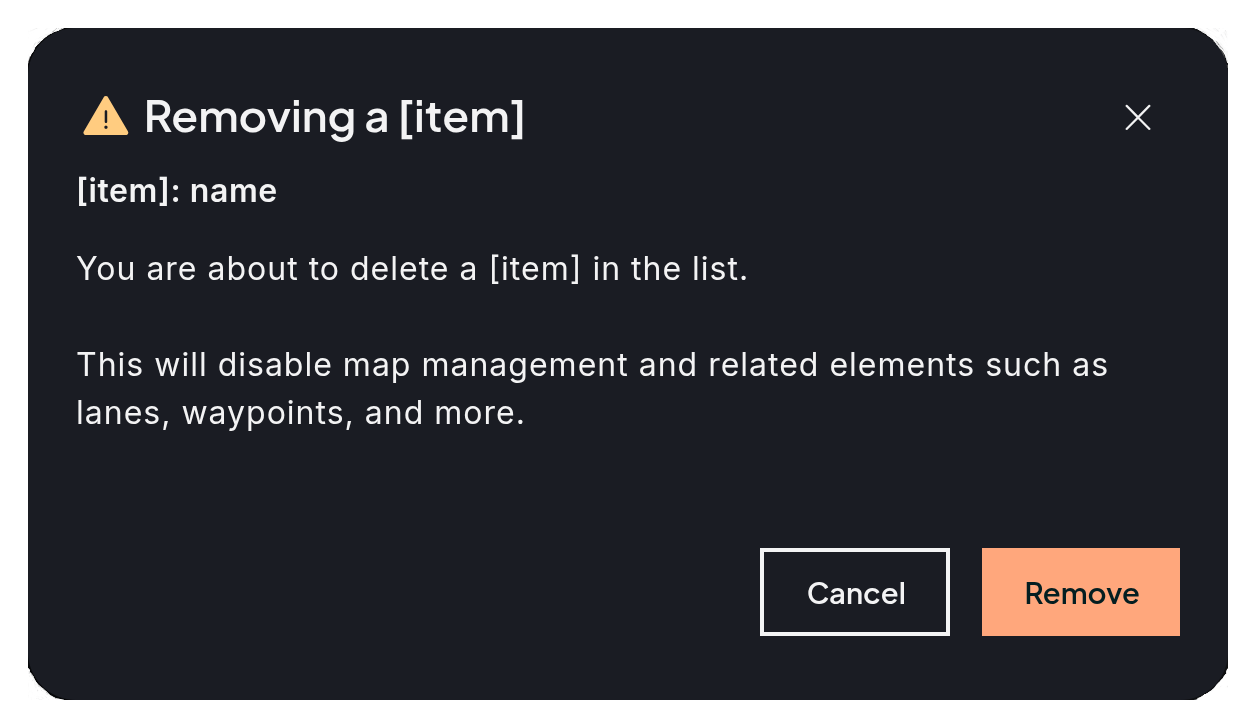
Figure 12: Generic remove dialog
!!! Note Only one building can be active at a time. Activating a new building will automatically deactivate the currently active building and all its associated items.
Right panel#
The right panel displays detailed data on the selected element-. The data displayed depends on the selected element:
Empty State#
If no items are present, an empty state is displayed.
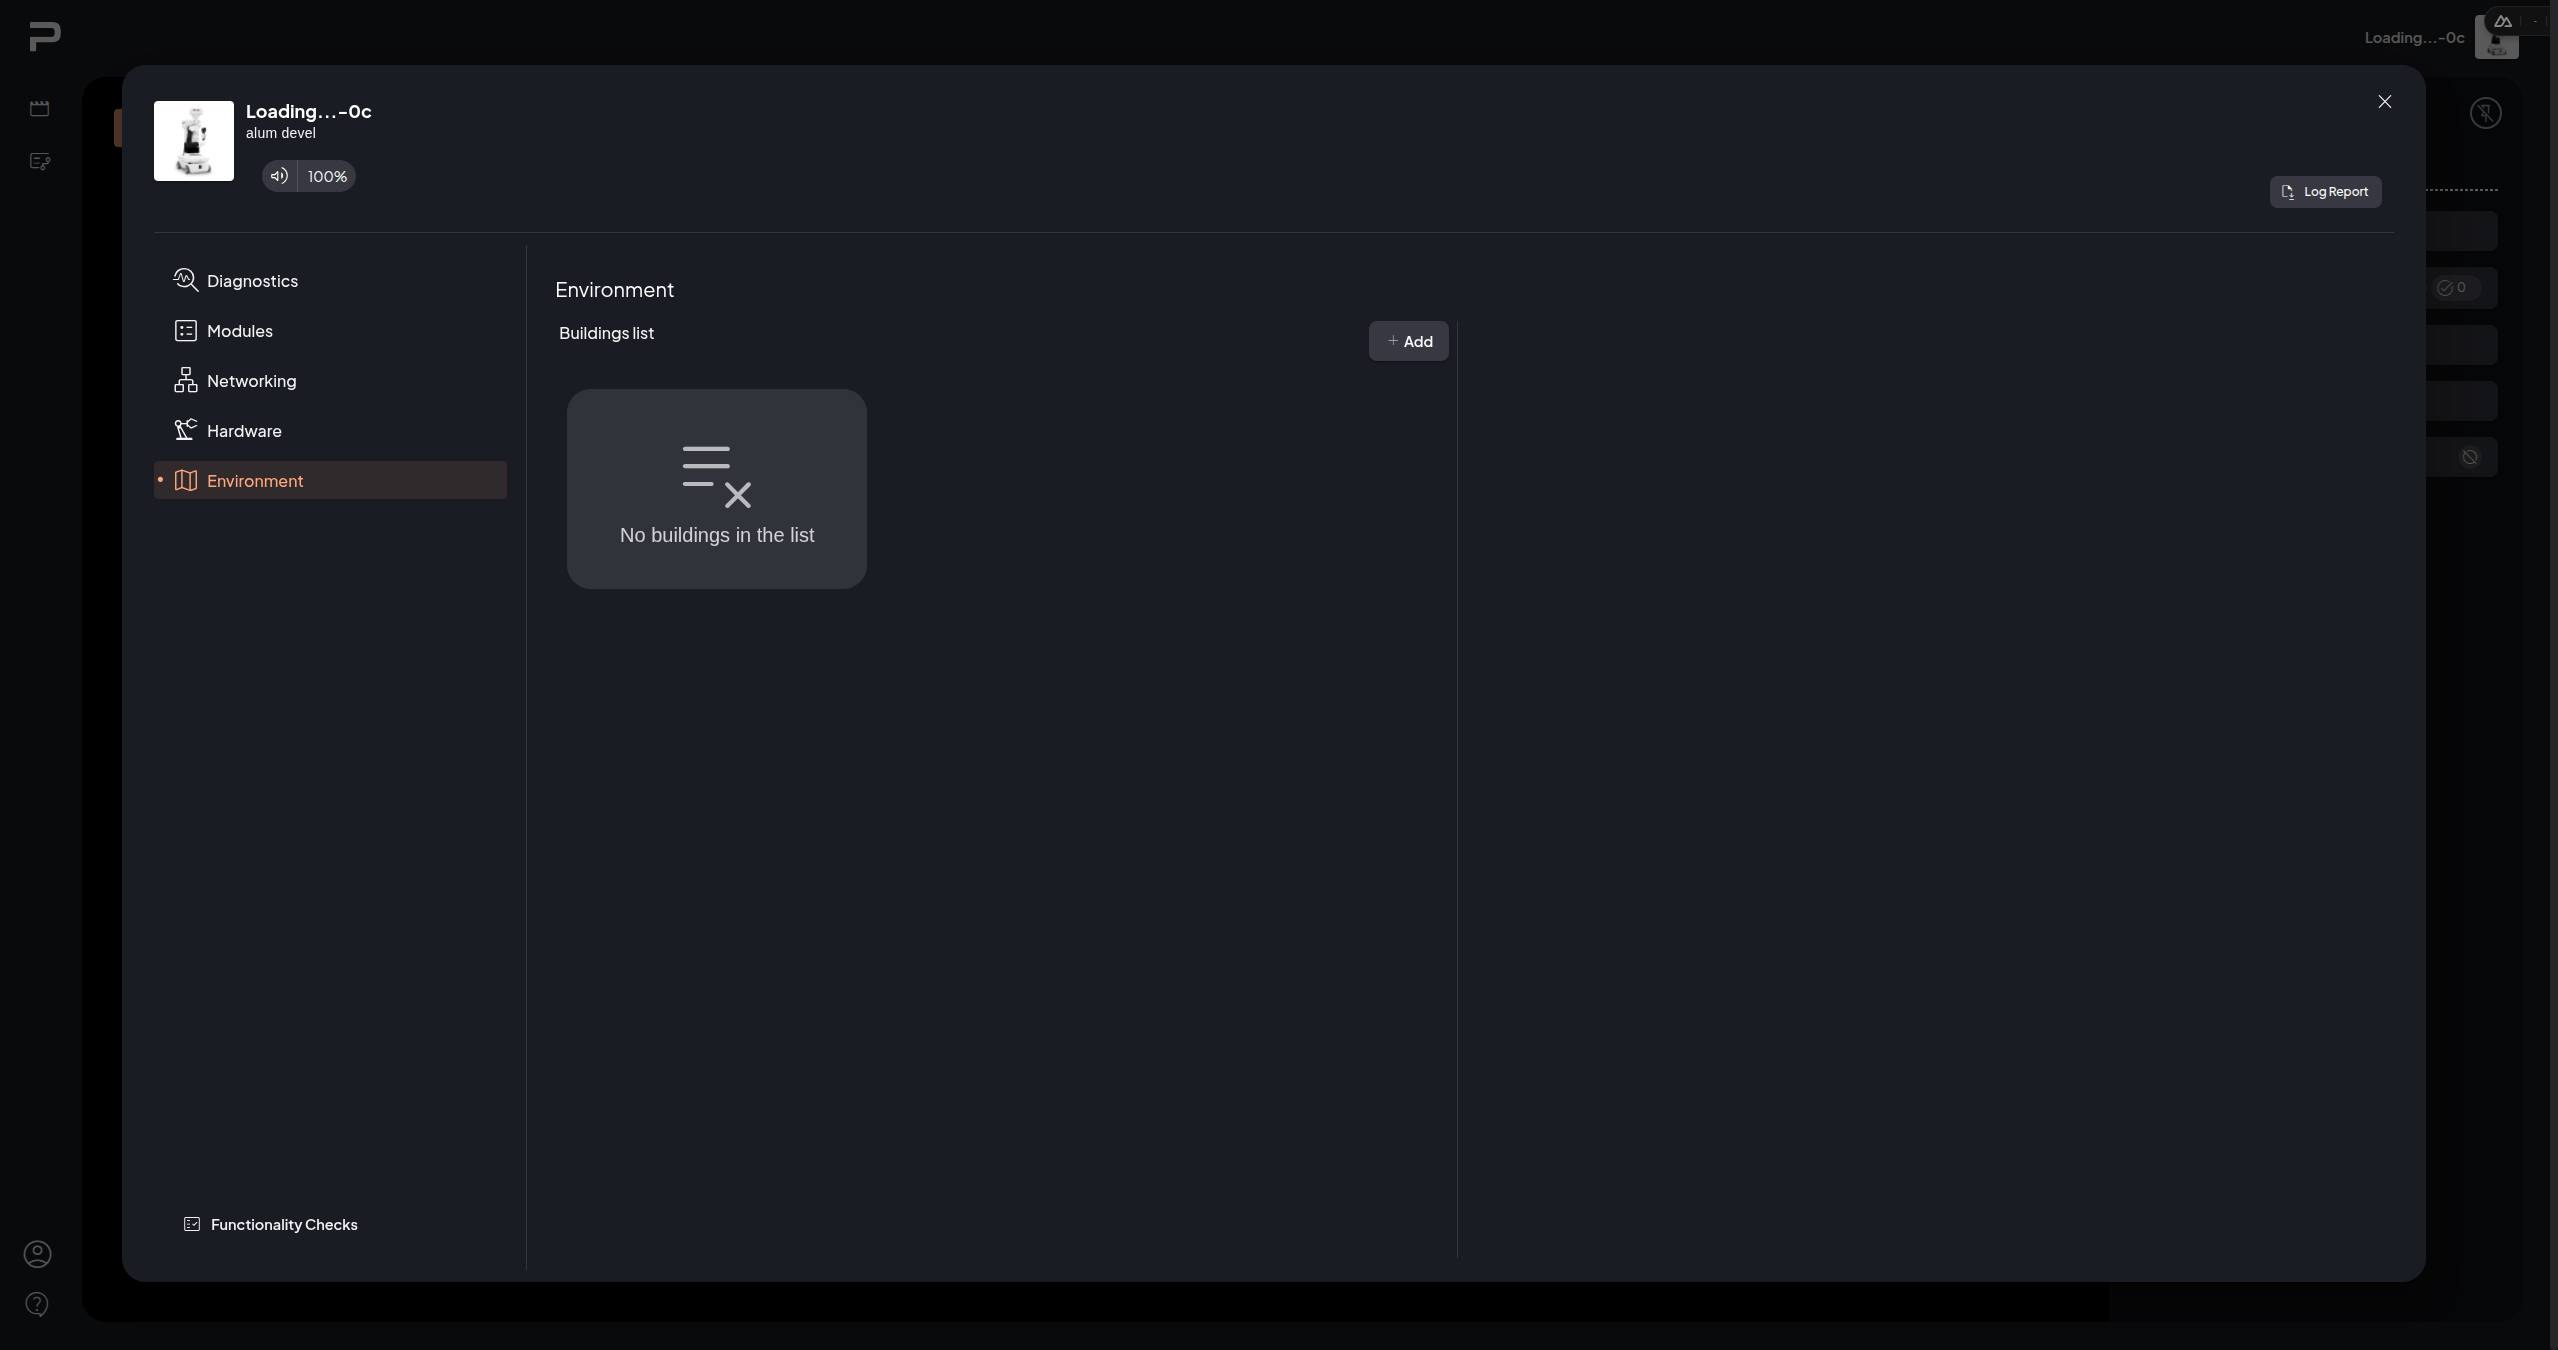
Figure 13: Control Center Empty State
Building#
For Building elements the following details are displayed:
Building name
Creation date
Last modified date
Anchor list: List of all building anchors present, their current enabled/disabled state, and a menu offering the following options:
Anchor name.
Anchor enabled/activated states.
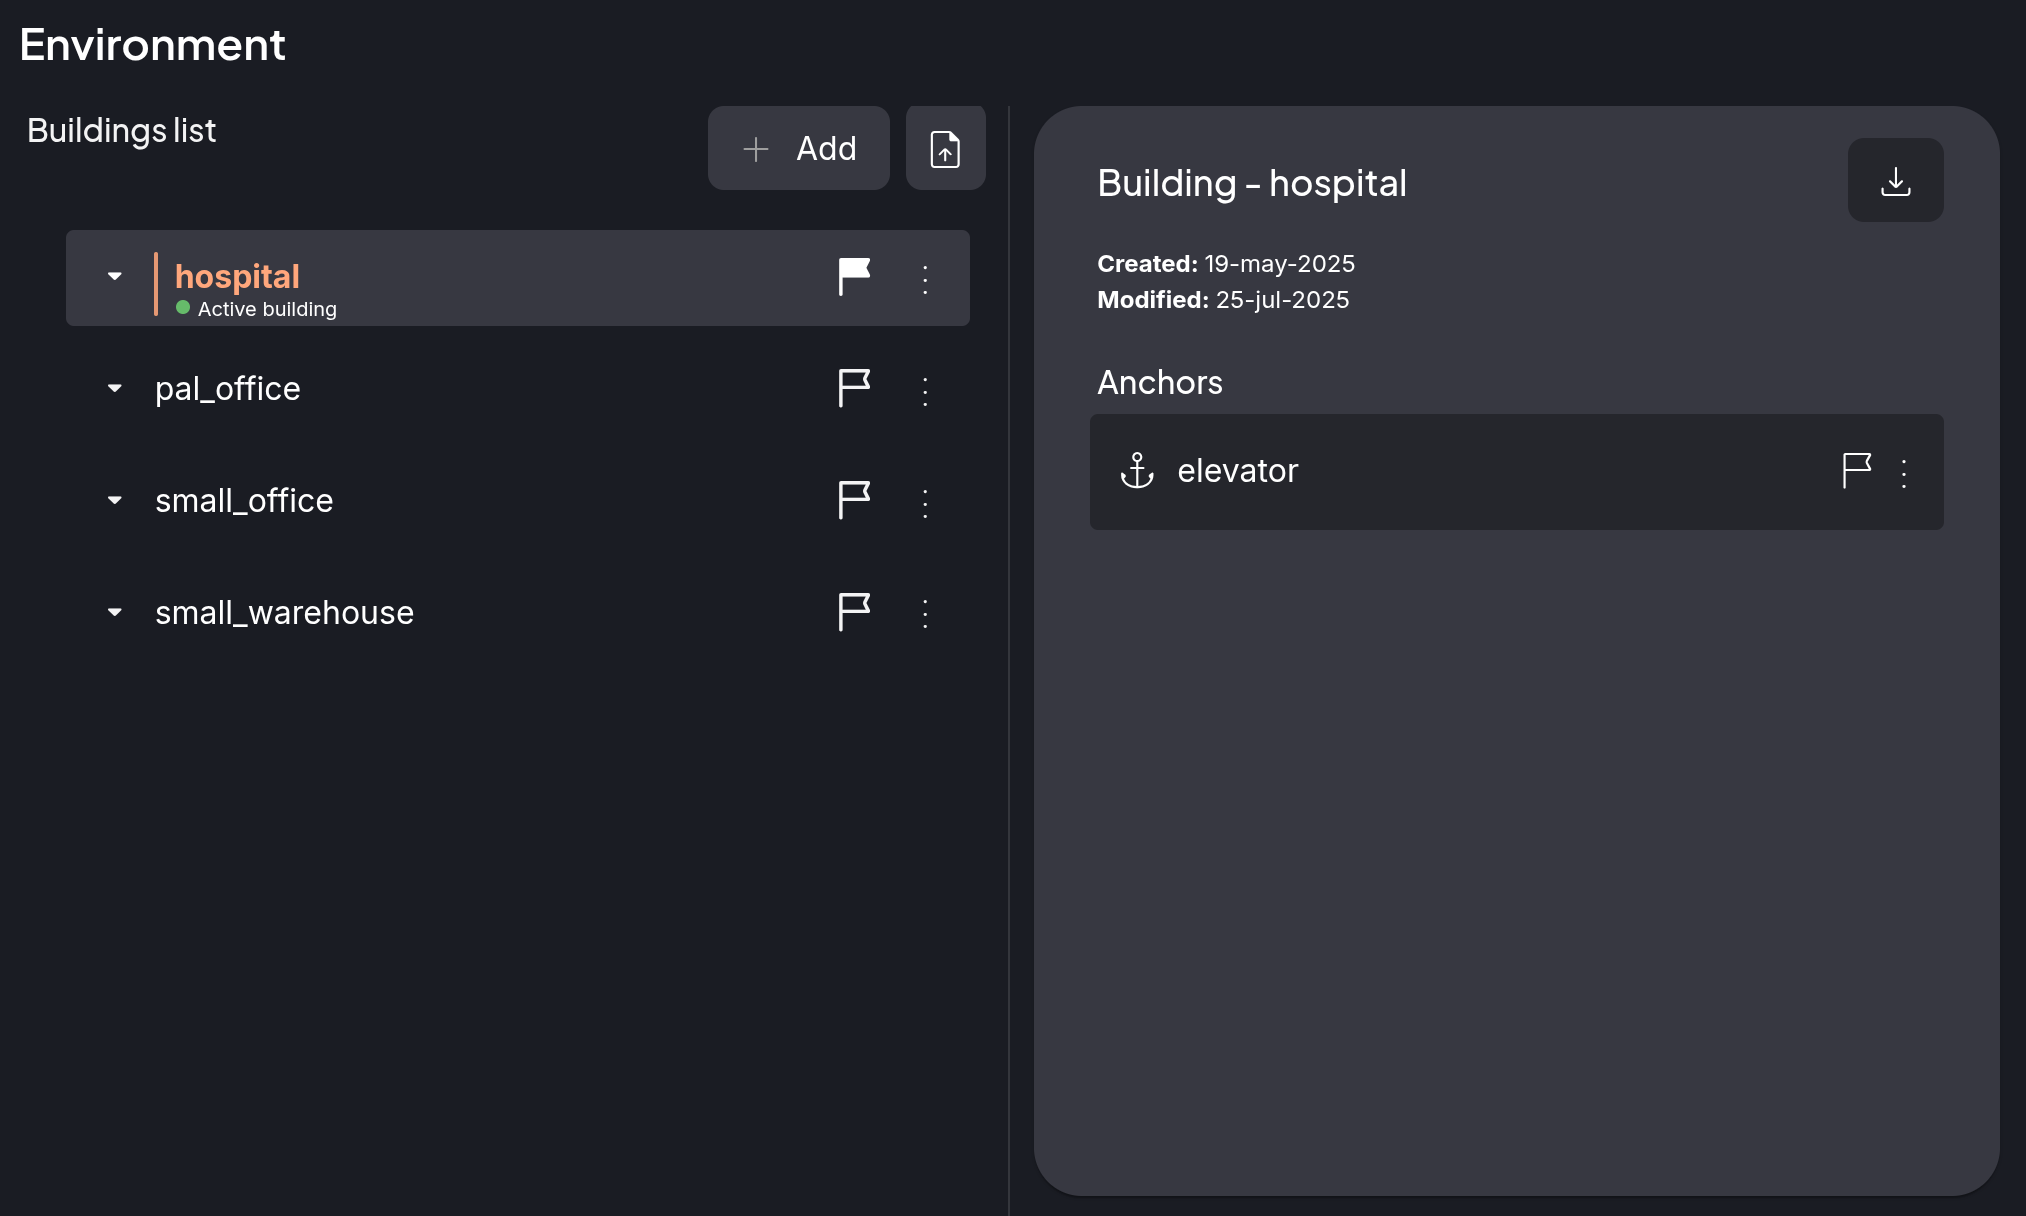
Figure 14: Building Item in Left Panel
Floor#
Select a floor item automatically displays its data:
Floor name
Creation date
Last modified date
Building anchors list
Floor anchors list
Extra floor elements:
Lane
Waypoints
Zone
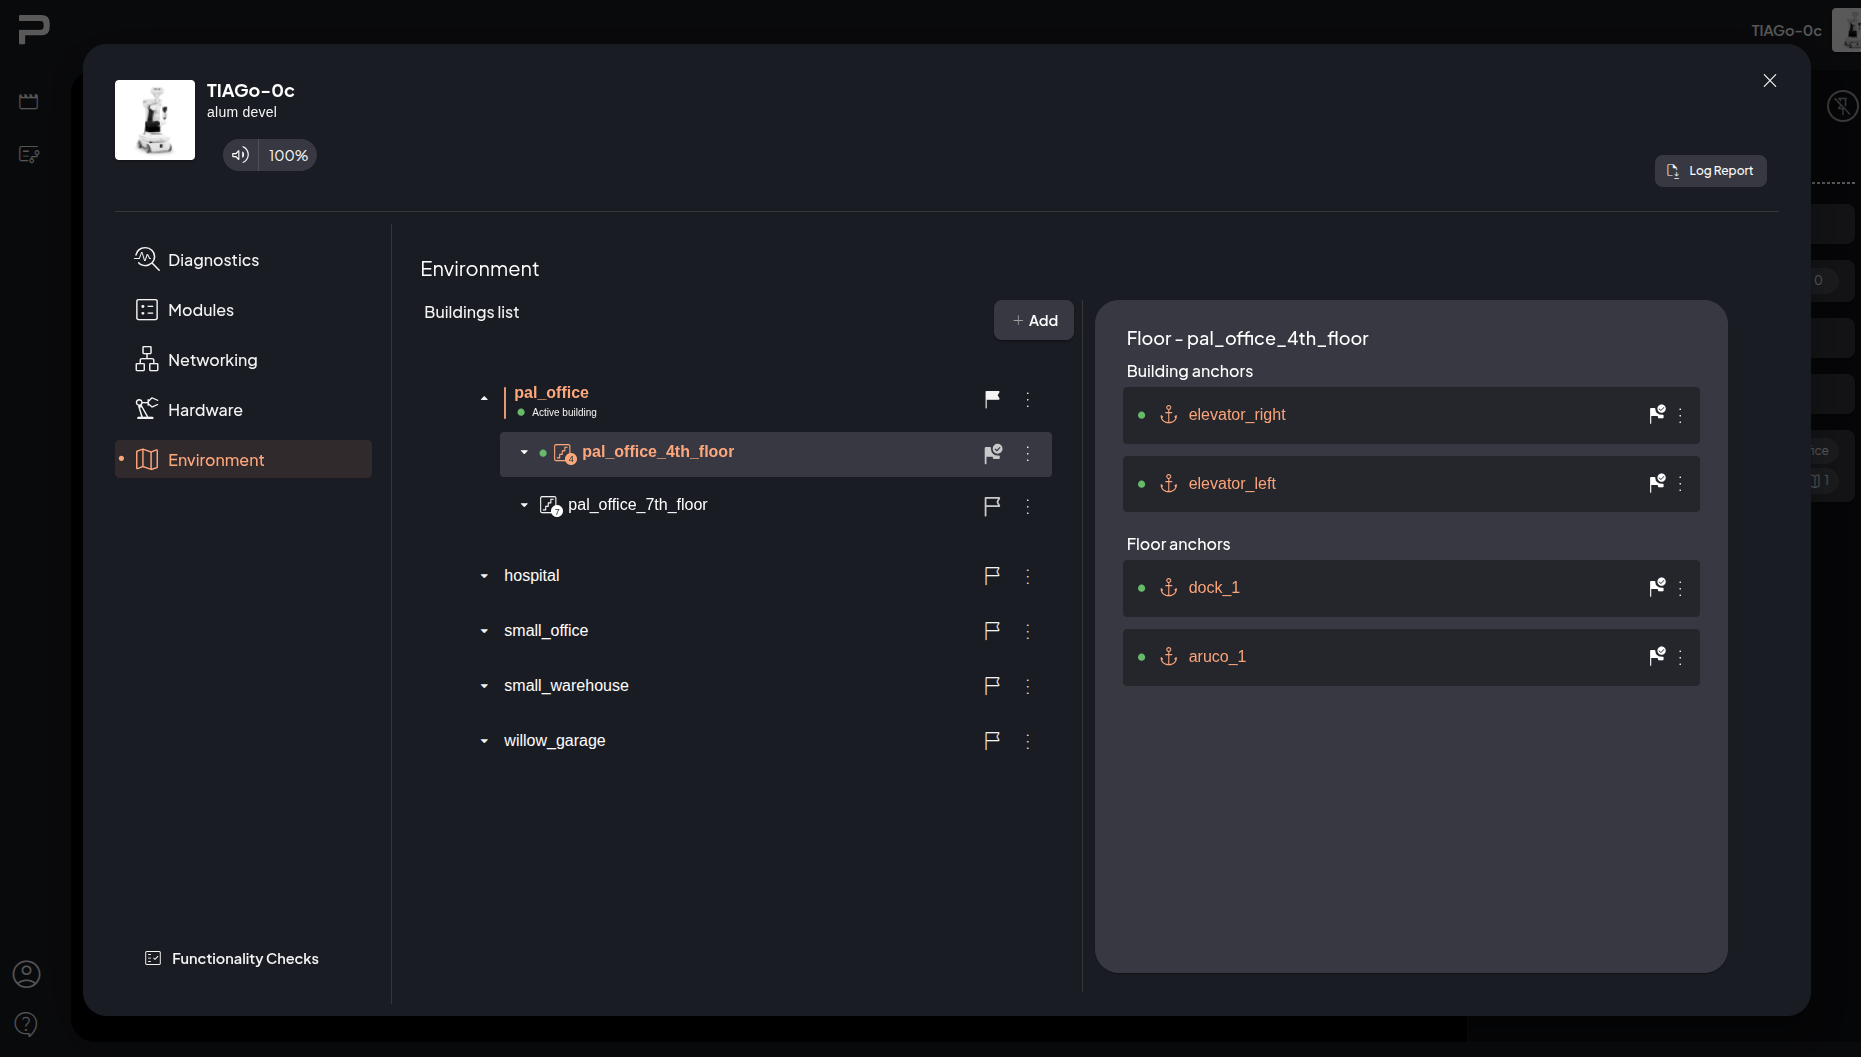
Figure 15: Floor Item in Left Panel
Map#
Select a map item automatically displays its data:
Map name
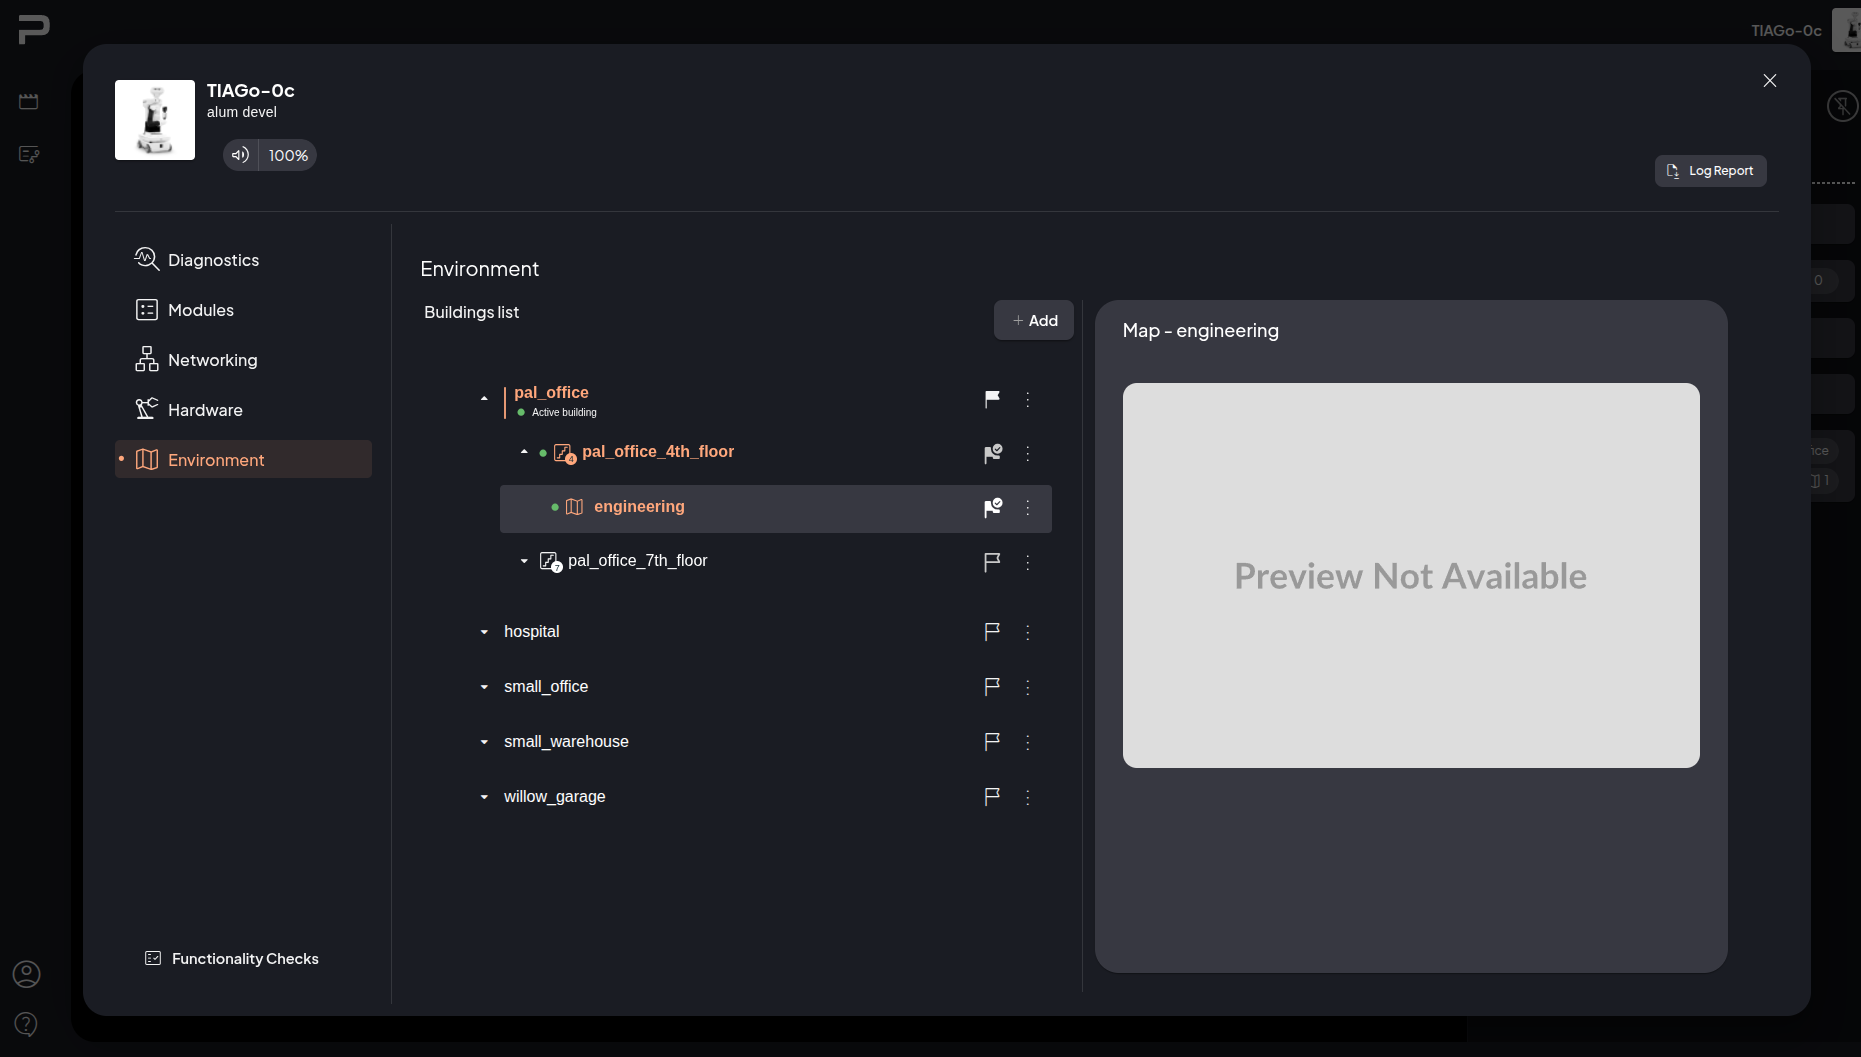
Figure 16: Map Item in Left Panel